Posts

Showing posts from 2021

glTF loader for Android Vulkan
Image
This post is going to introduce how we integrate with an existing glTF loader library to make it be able to show glTF models in our Vulkan rendering framework,  vulkan-android . tinygltf In the beginning, we don't want to make our new own wheel, so choosing  tinygltf as our glTF loader. tinygltf is a C++11 based library that would help us support all possible cross-platform project easily. tinygltf setup in Android Studio In  vulkan-android  project, we put third party libraries into third_party folder. Therefore, we need to include tinygltf from third_party folder in app/CMakeLists.txt as below. set(THIRD_PARTY_DIR ../../third_party) include_directories(${THIRD_PARTY_DIR}/tinygltf) Model loading from tinygltf We are going to load a gltf ASCII or binary format model from the storage. tinygltf provides two APIs , they are LoadBinaryFromFile() and LoadASCIIFromFile() respectively based on the extension name is *.glb or *.gltf. TinyGLTF loader will return a tinygltf Model that incl

Drawing textured cube with Vulkan on Android

Image
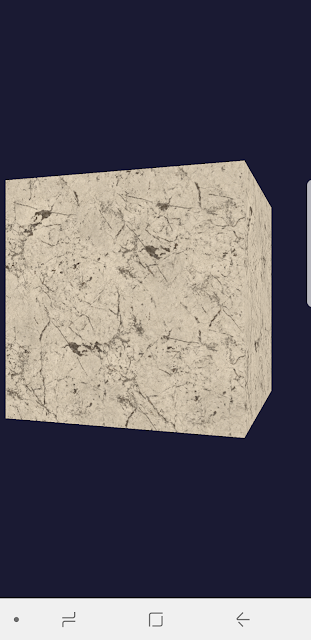
Vulkan is a modern hardware-accelerated Graphics API. Its goal is providing an high efficient way in low-level graphics and compute on modern GPUs for PC, mobile, and embedded devices. I am personally working a self training project, vulkan-android , to teach myself how to use this new APIs. The difference between OpenGL and Vulkan OpenGL: Higher level API in comparison with Vulkan, and the next generation of OpenGL 4 will be Vulkan.   Cross-platform and Cross-language (mostly still based on C/C++, but people implemented diverse versions and expose similar API binding based on OpenGL C++, WebGL is a good example).  Mainly used in 3D graphics and 2D image processing to interact with GPU in order to achieve hardware acceleration. Don't have a command buffer can be manipulated at the application side. That means we will be easily see draw calls being the performance bottleneck in a big and complex 3D scene. Vulkan: Cross-platform and low-overhead. Erase the boundary between GPU API an

C++ unit testing & CI integration in GitHub (2/2)

Image
Based on the previous post , we are able to integrate our Android JNI project with CI tools, Circle-CI and GitHub Actions. However, we still have a little unperfected because we were unable to enable an Android emulator running for Android JNI unit tests. Now, I think I got a solution, it is using Android Emulator Runner . Add a job for Android Emulator When I first saw the instruction from  Android Emulator Runner , I was thinking it should be super easy and should not take me an hour, but I was wrong... Let's use the sample config from that Android Emulator Runner link. jobs: test: runs-on: macos-latest steps: - name: checkout uses: actions/checkout@v2 - name: run tests uses: reactivecircus/android-emulator-runner@v2 with: api-level: 29 script: ./gradlew connectedCheck This test job is run on a Mac OS machine and going to checkout your code from the repo and launch an Android emulators. I am supposed Linux and Windows machine a

C++ unit testing & CI integration in GitHub (I/2)

Image
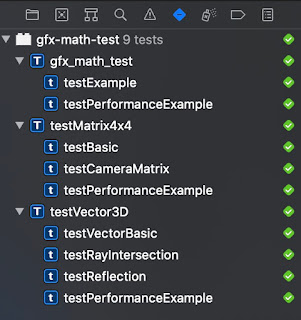
I am working on a side project,  Vulkan-Android , that is based on Java, JNI, C++, and Vulkan for Android platform. It also uses my C++ math library. Therefore, the requirement of my build and unit tests are around C++. First of all, I would make sure the unit tests in local are run properly. C++ unit test on Mac OS On Mac OS, I think the most convenient way to do unit testing for C++ is writing XCT in Xcode. In the beginning, we need to create a test plan in Xcode. It will helps us create a schema, then, in the test navigator, create a new Unit Test Target. Due to XCT was originally designed for Objective-C or Swift, if we wanna test our C++ code, we need a workaround by making the file extension name to be *.mm . And then, write down the unit tests as below: #import <XCTest/XCTest.h> #include "Vector3d.h" using namespace gfx_math; @interface testVector3D : XCTestCase @end @implementation testVector3D - (void)setUp { // Put setup code here. This method is cal